
Microsoft Forms is a simple tool that allows you to quickly create and share a form, survey, quiz or poll and collect responses in real time. Microsoft Forms is BAMS' recommended tool for survey creation, replacing Qualtrics.
Step 1.
Open Microsoft Forms
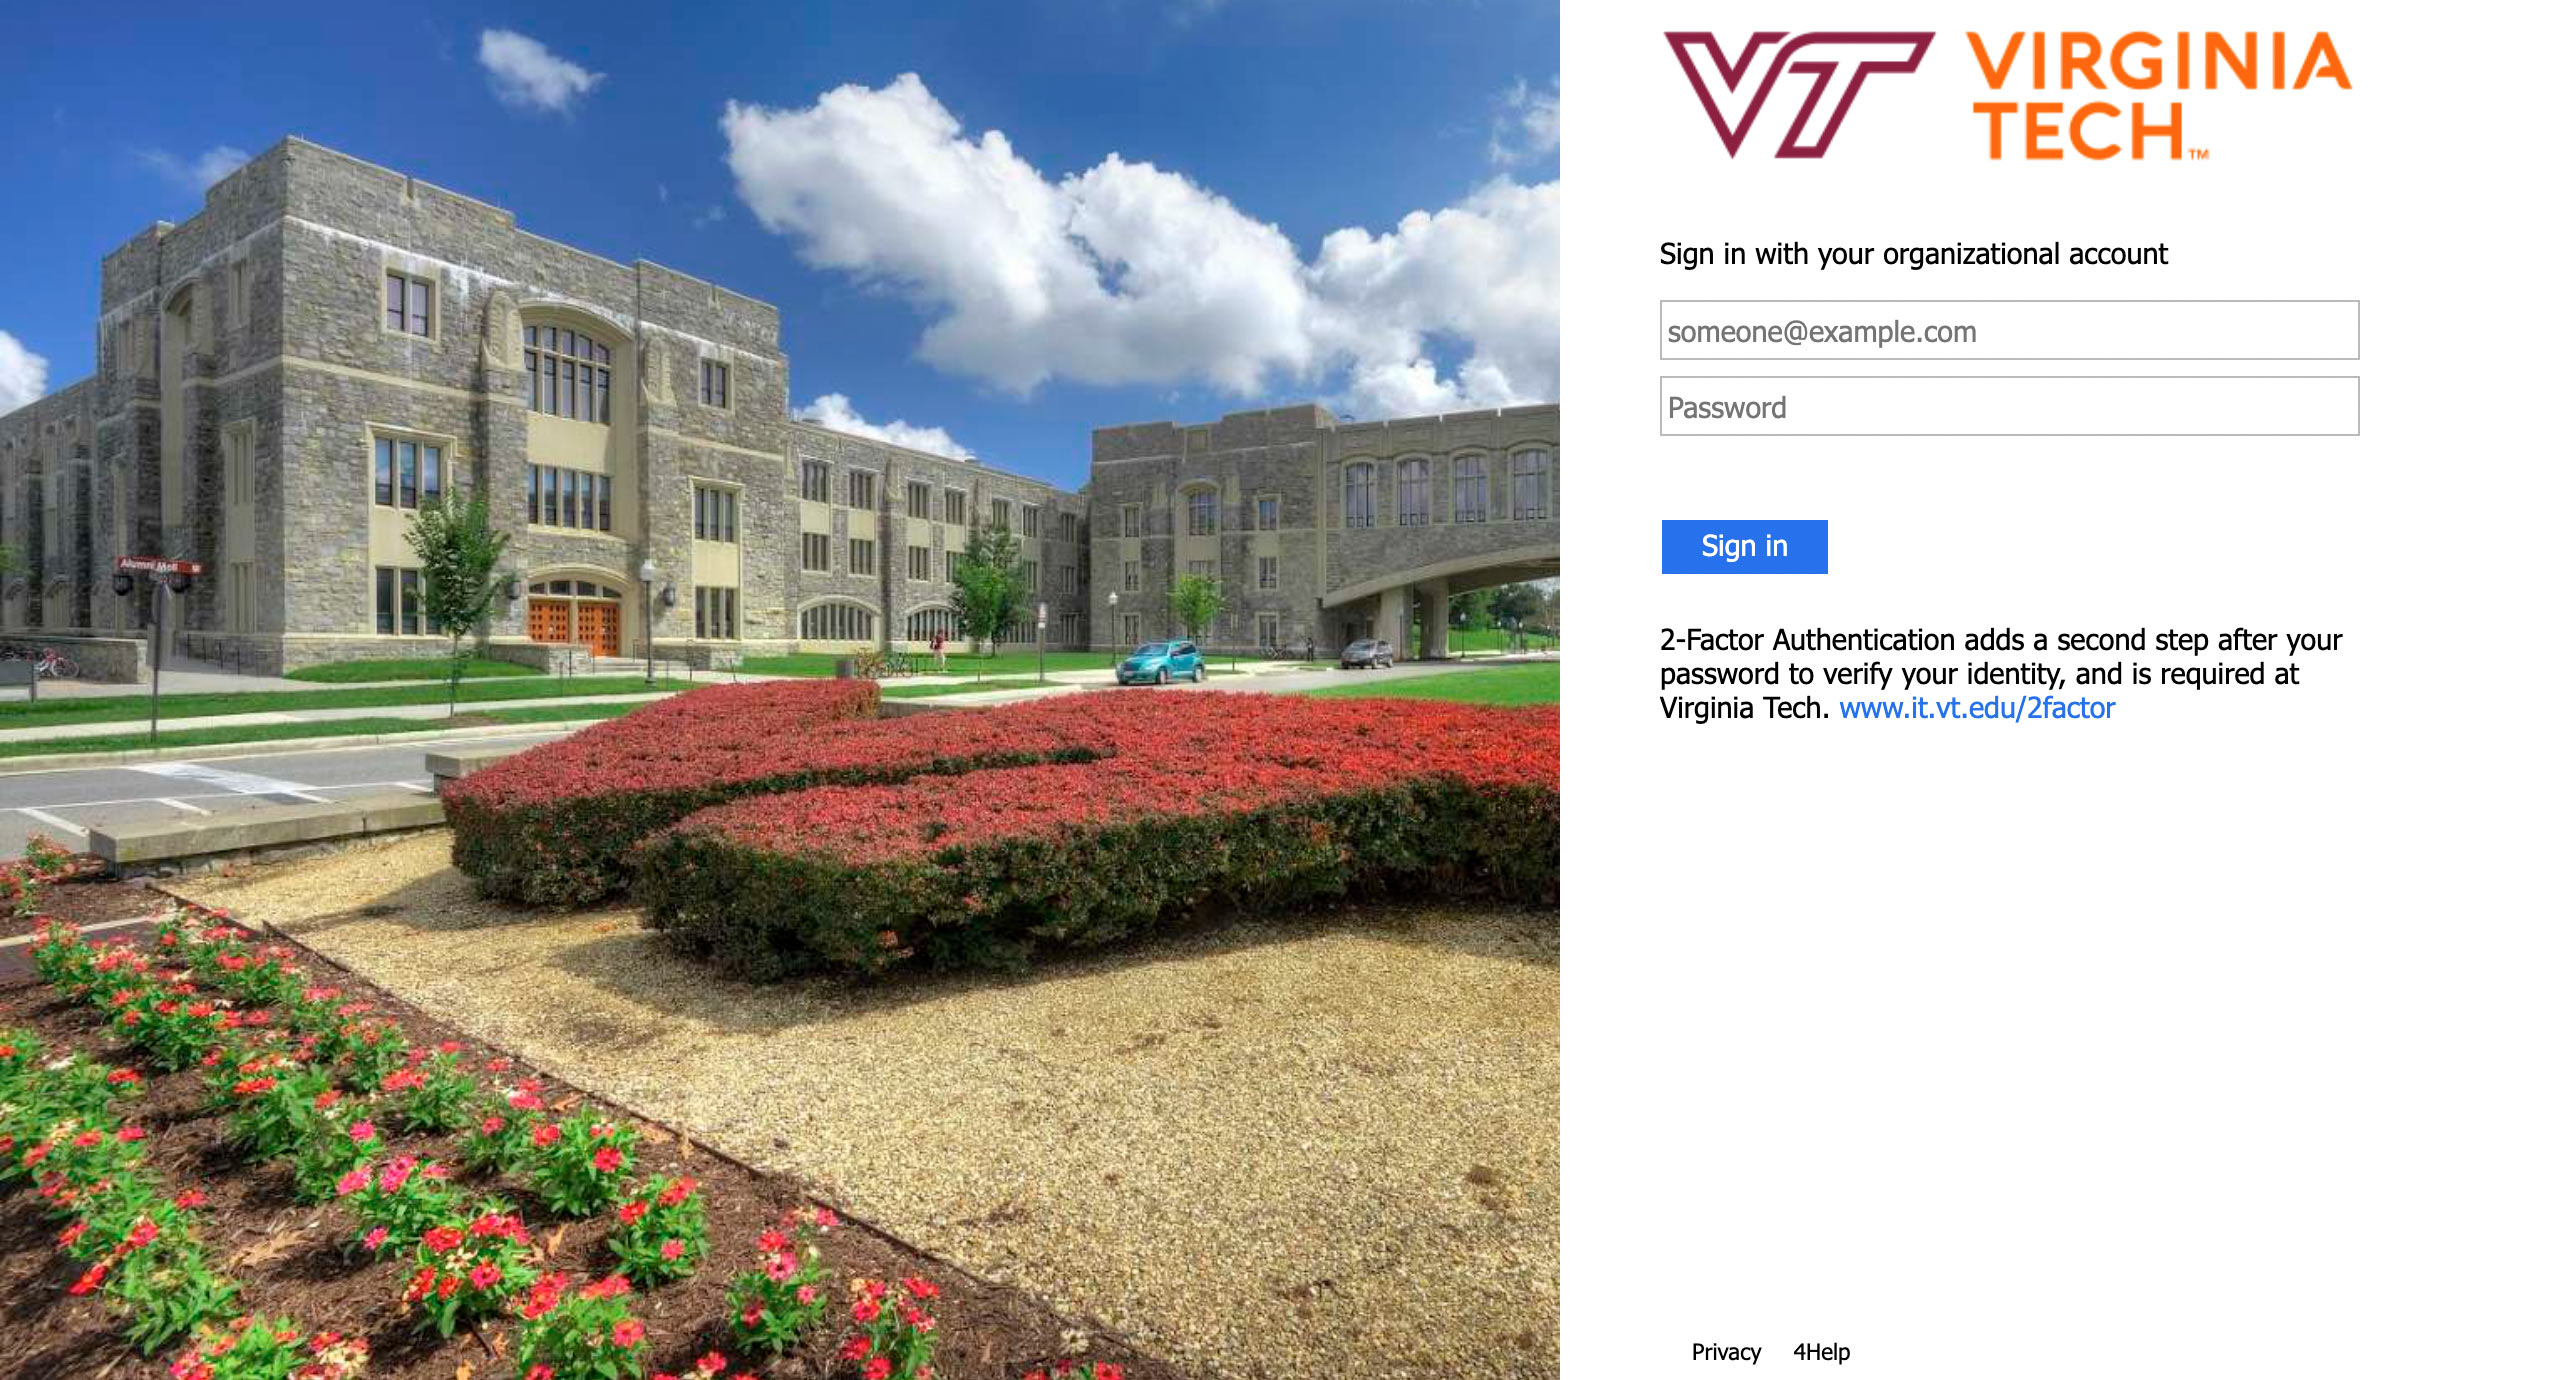
To open Microsoft Forms, navigate to https://forms.office.com/ and log in with your PID and password.
Step 2.
Create a Form
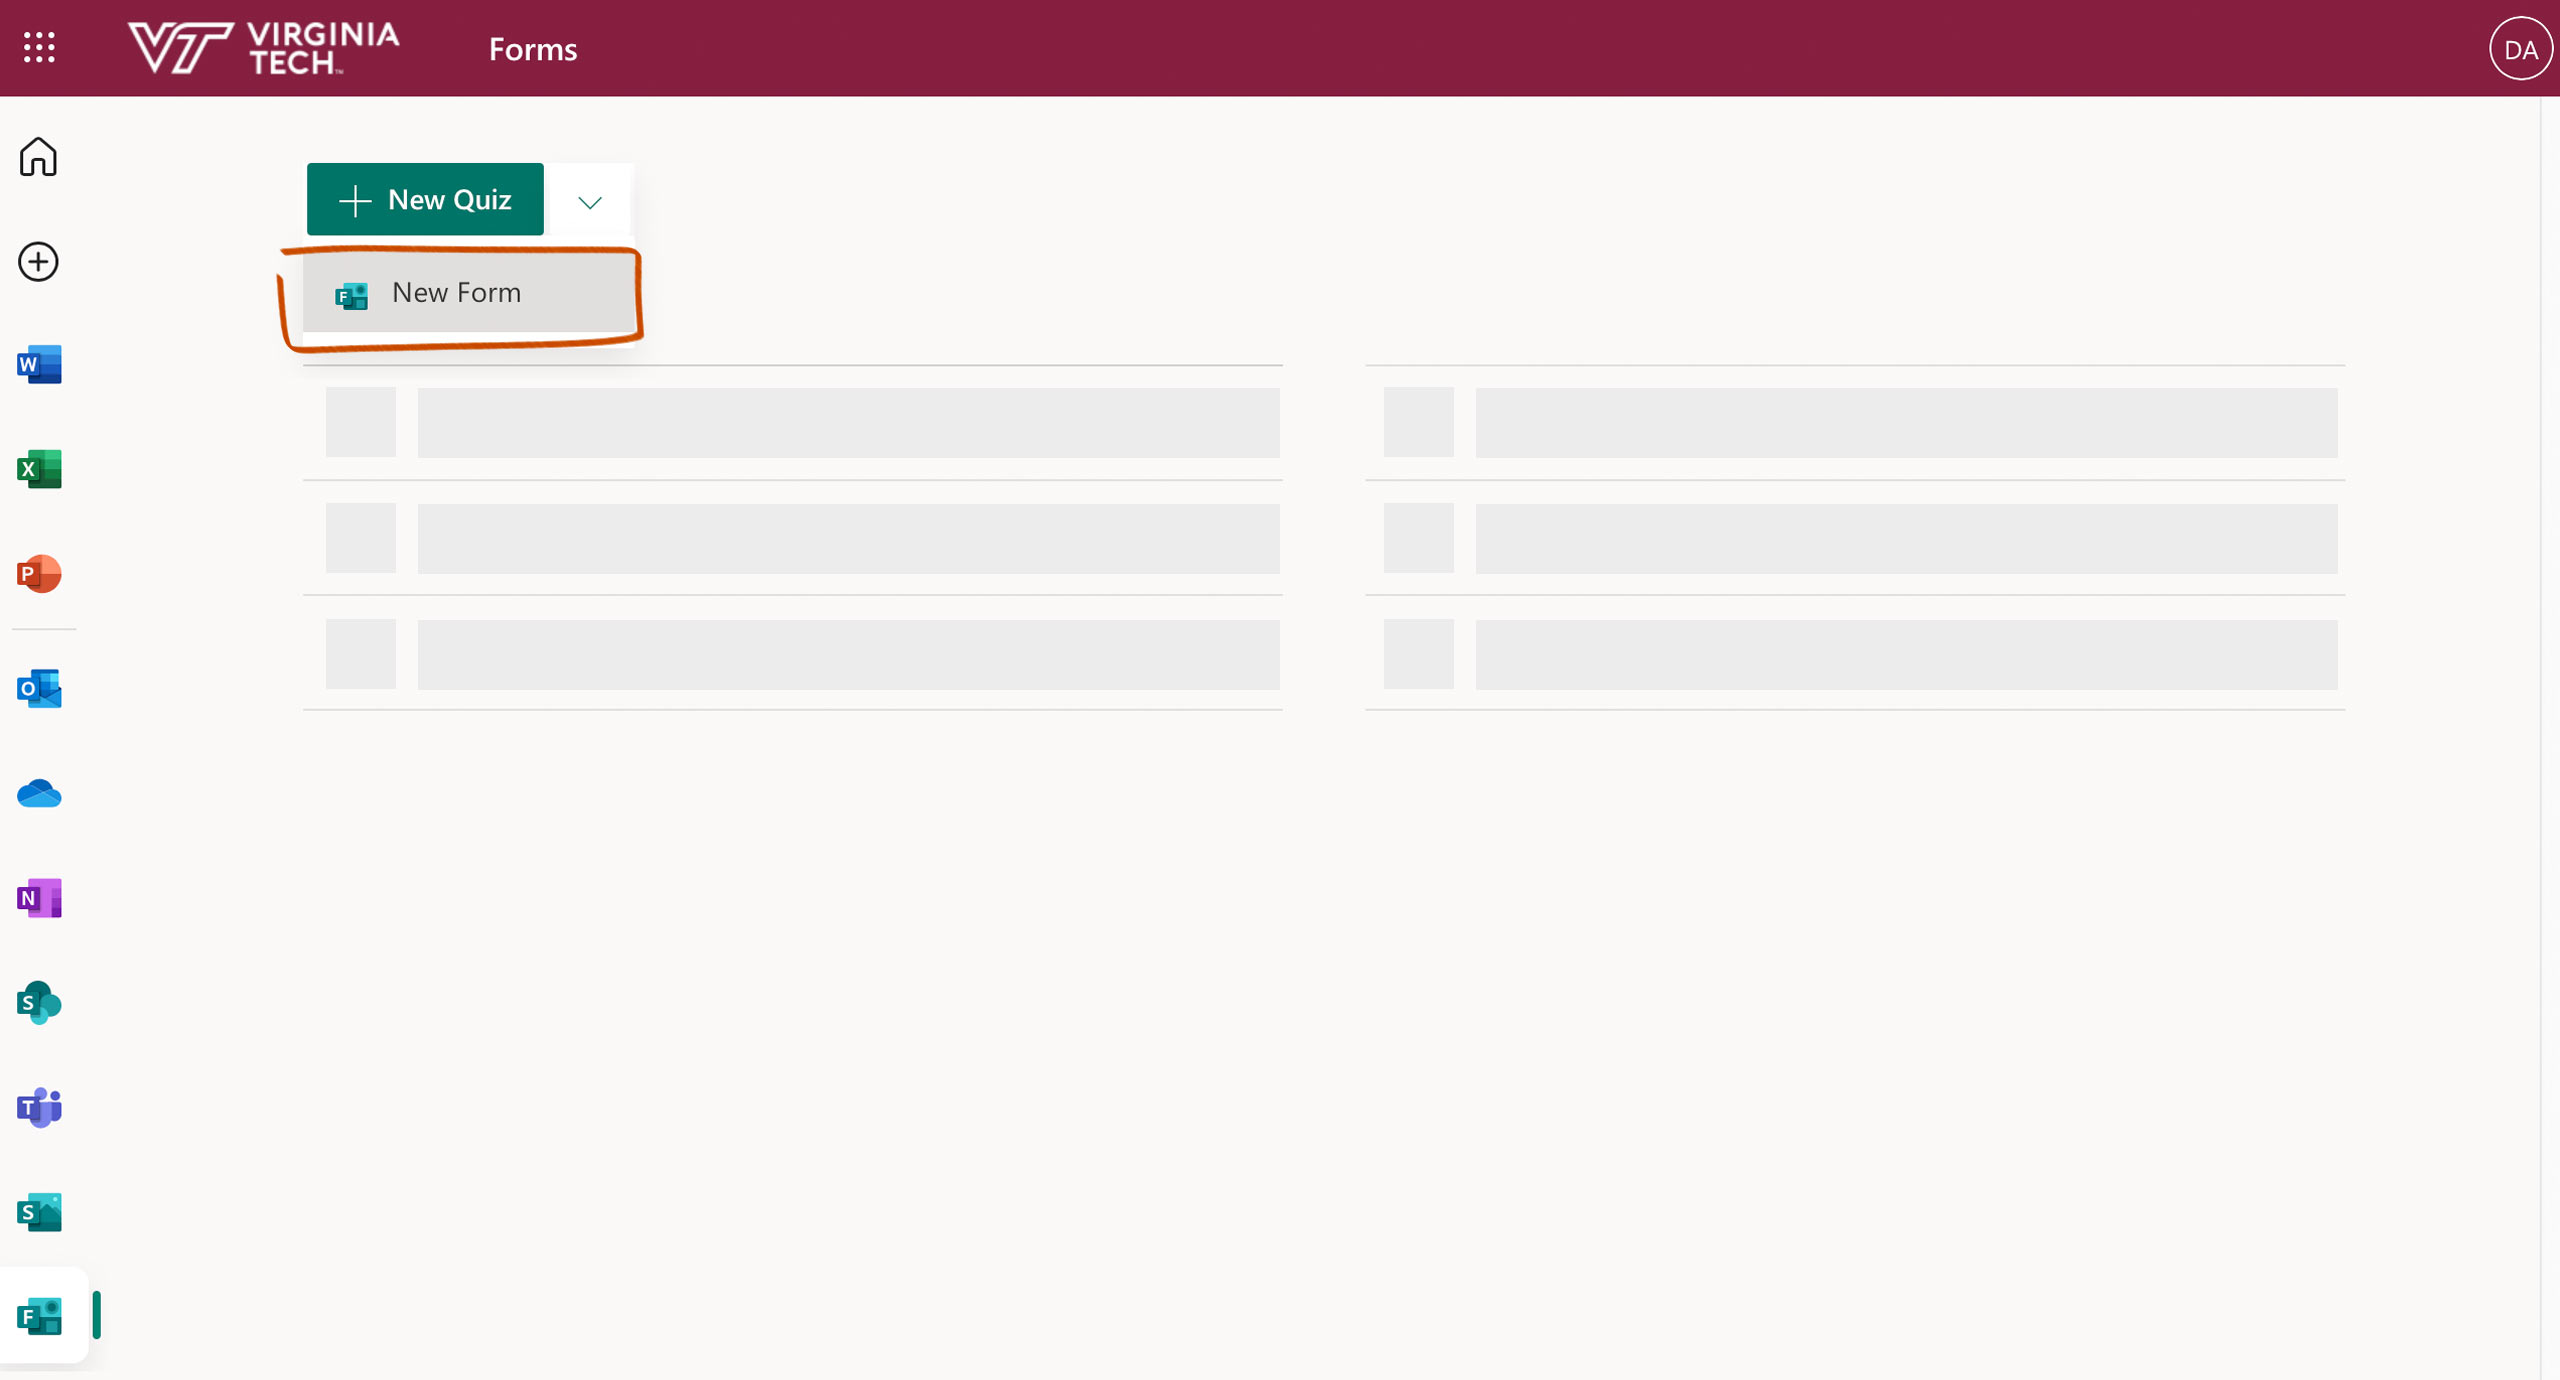
Once you’ve logged in, you’ll be taken to the Forms homepage. Select the dropdown arrow next to + New Quiz and click New Form.
Step 3.
Customize your Form
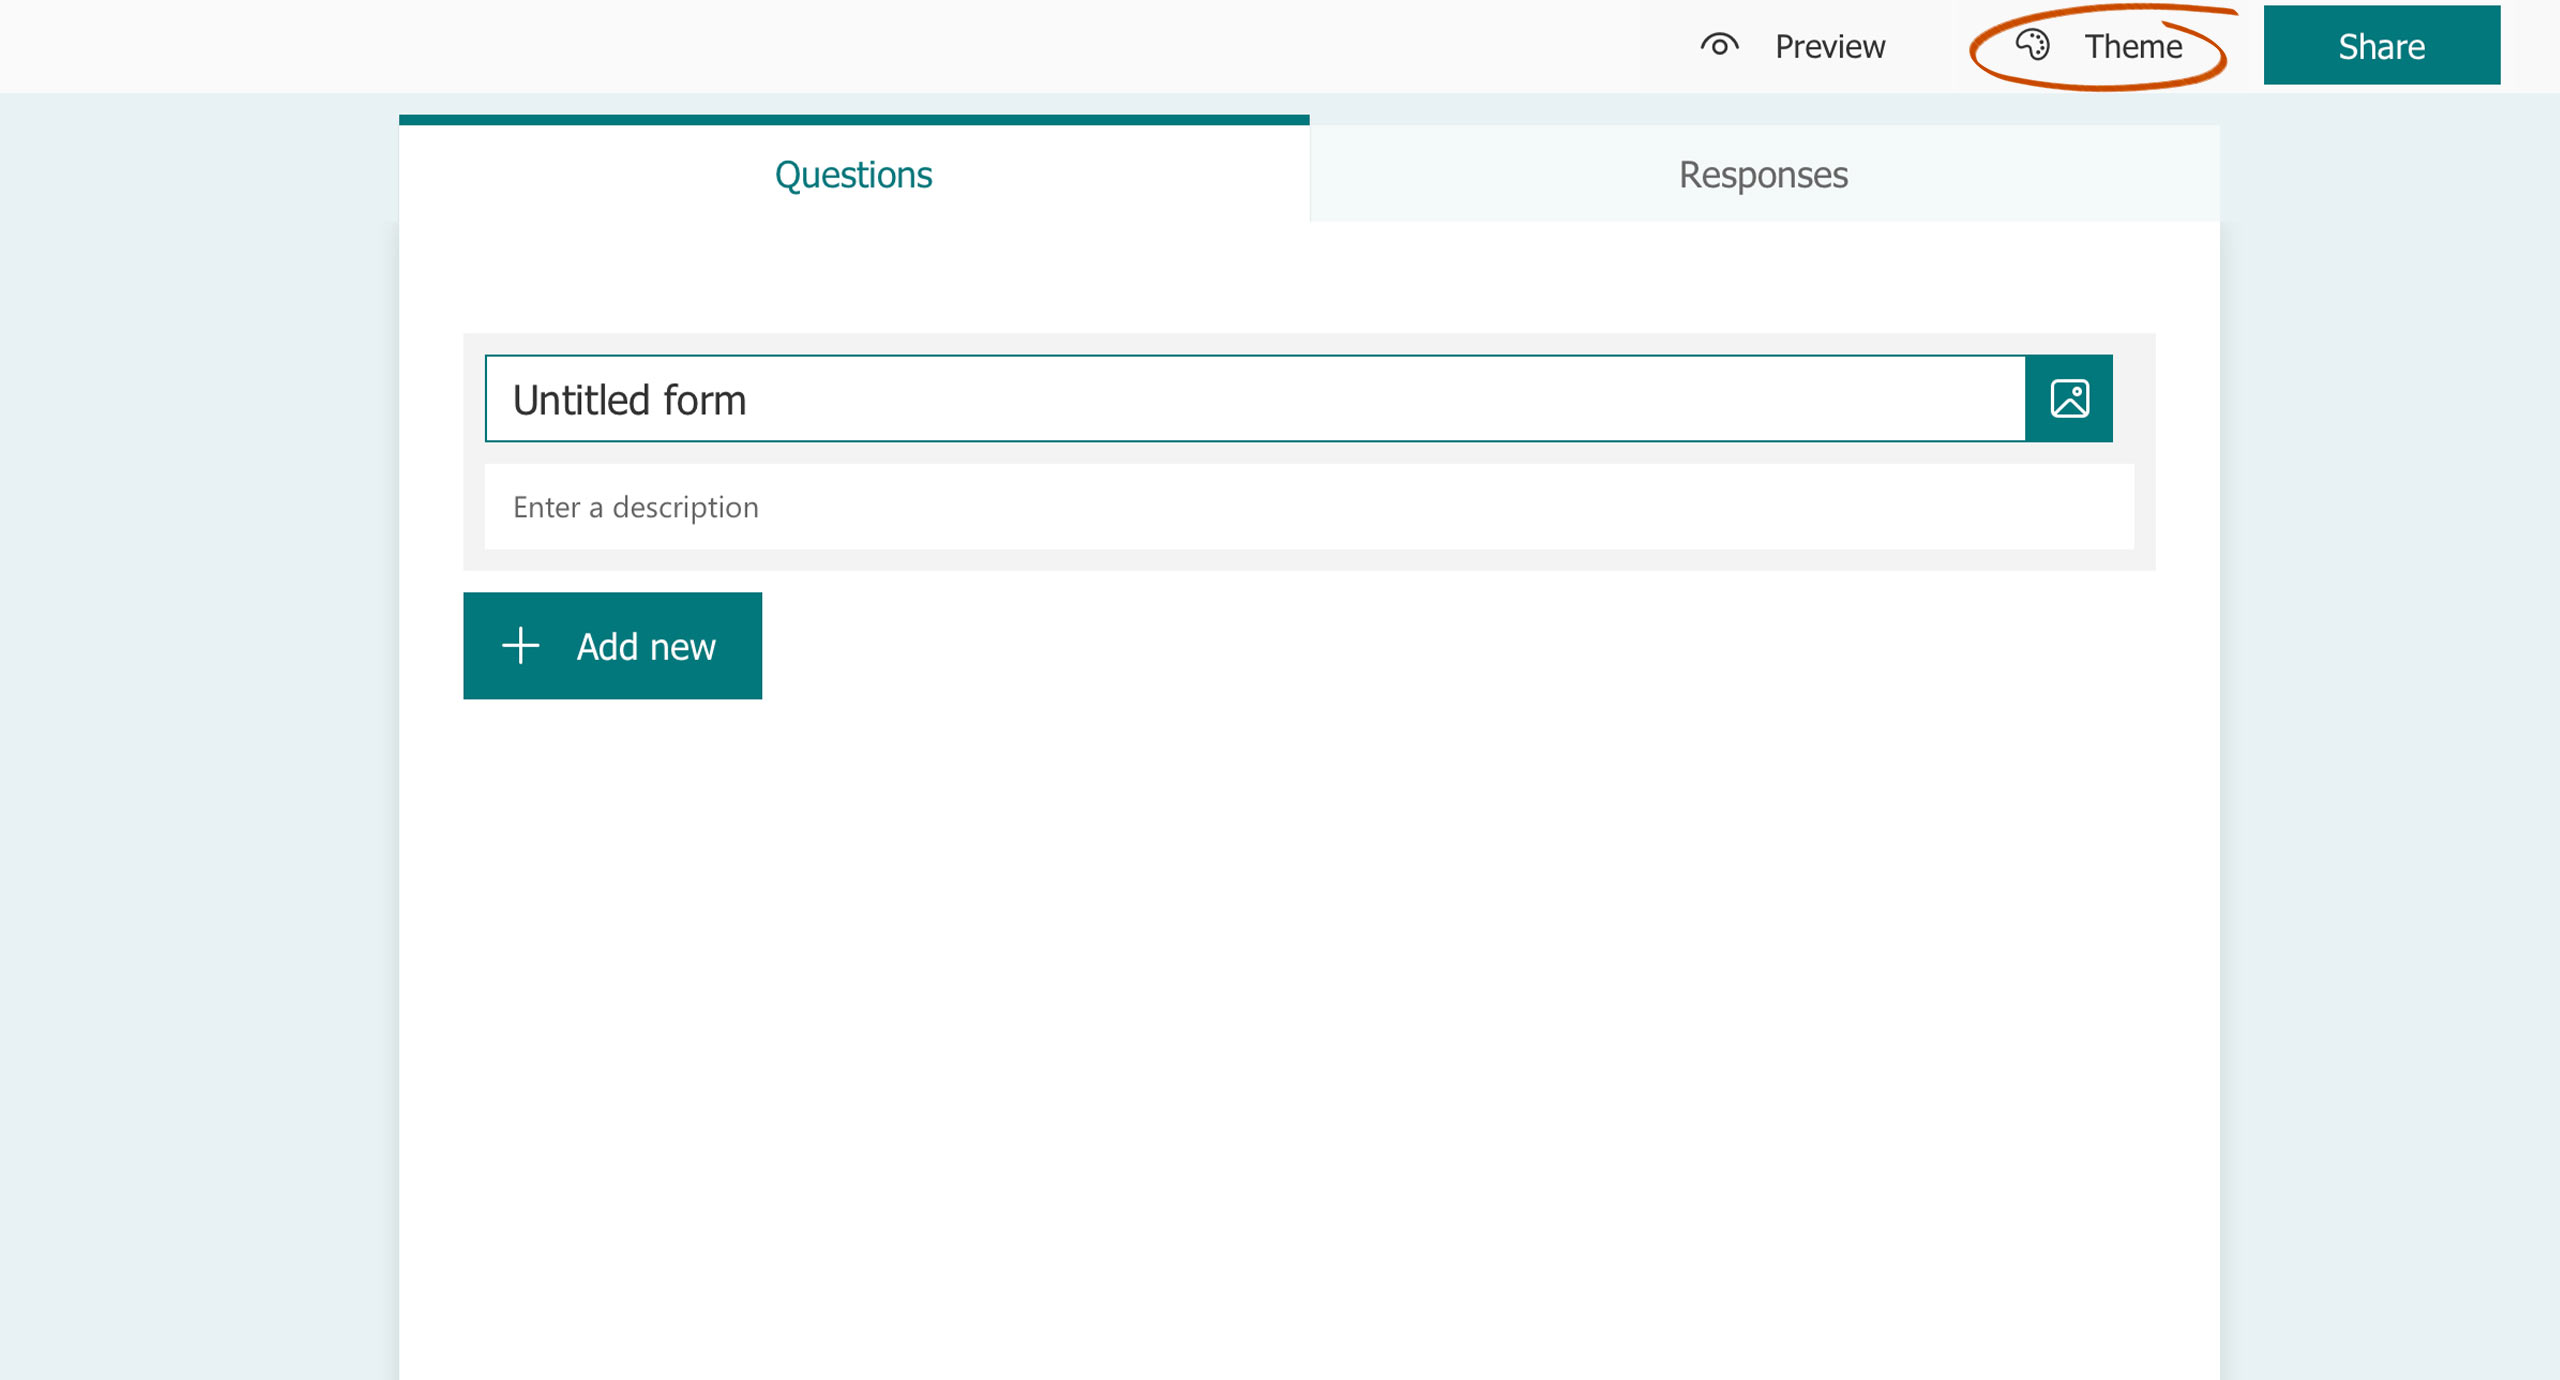
Once your new Form opens, give it a name and description. Keep in mind the name and description will be visible to form recipients. To add an image (like a VT or department logo) click on the Form title, then click the image button to the right of the name. The color of the form is customizable. If you wish to add a visual theme to your Form, select Theme in the menu bar and select a background color or image.
Step 4.
Add questions
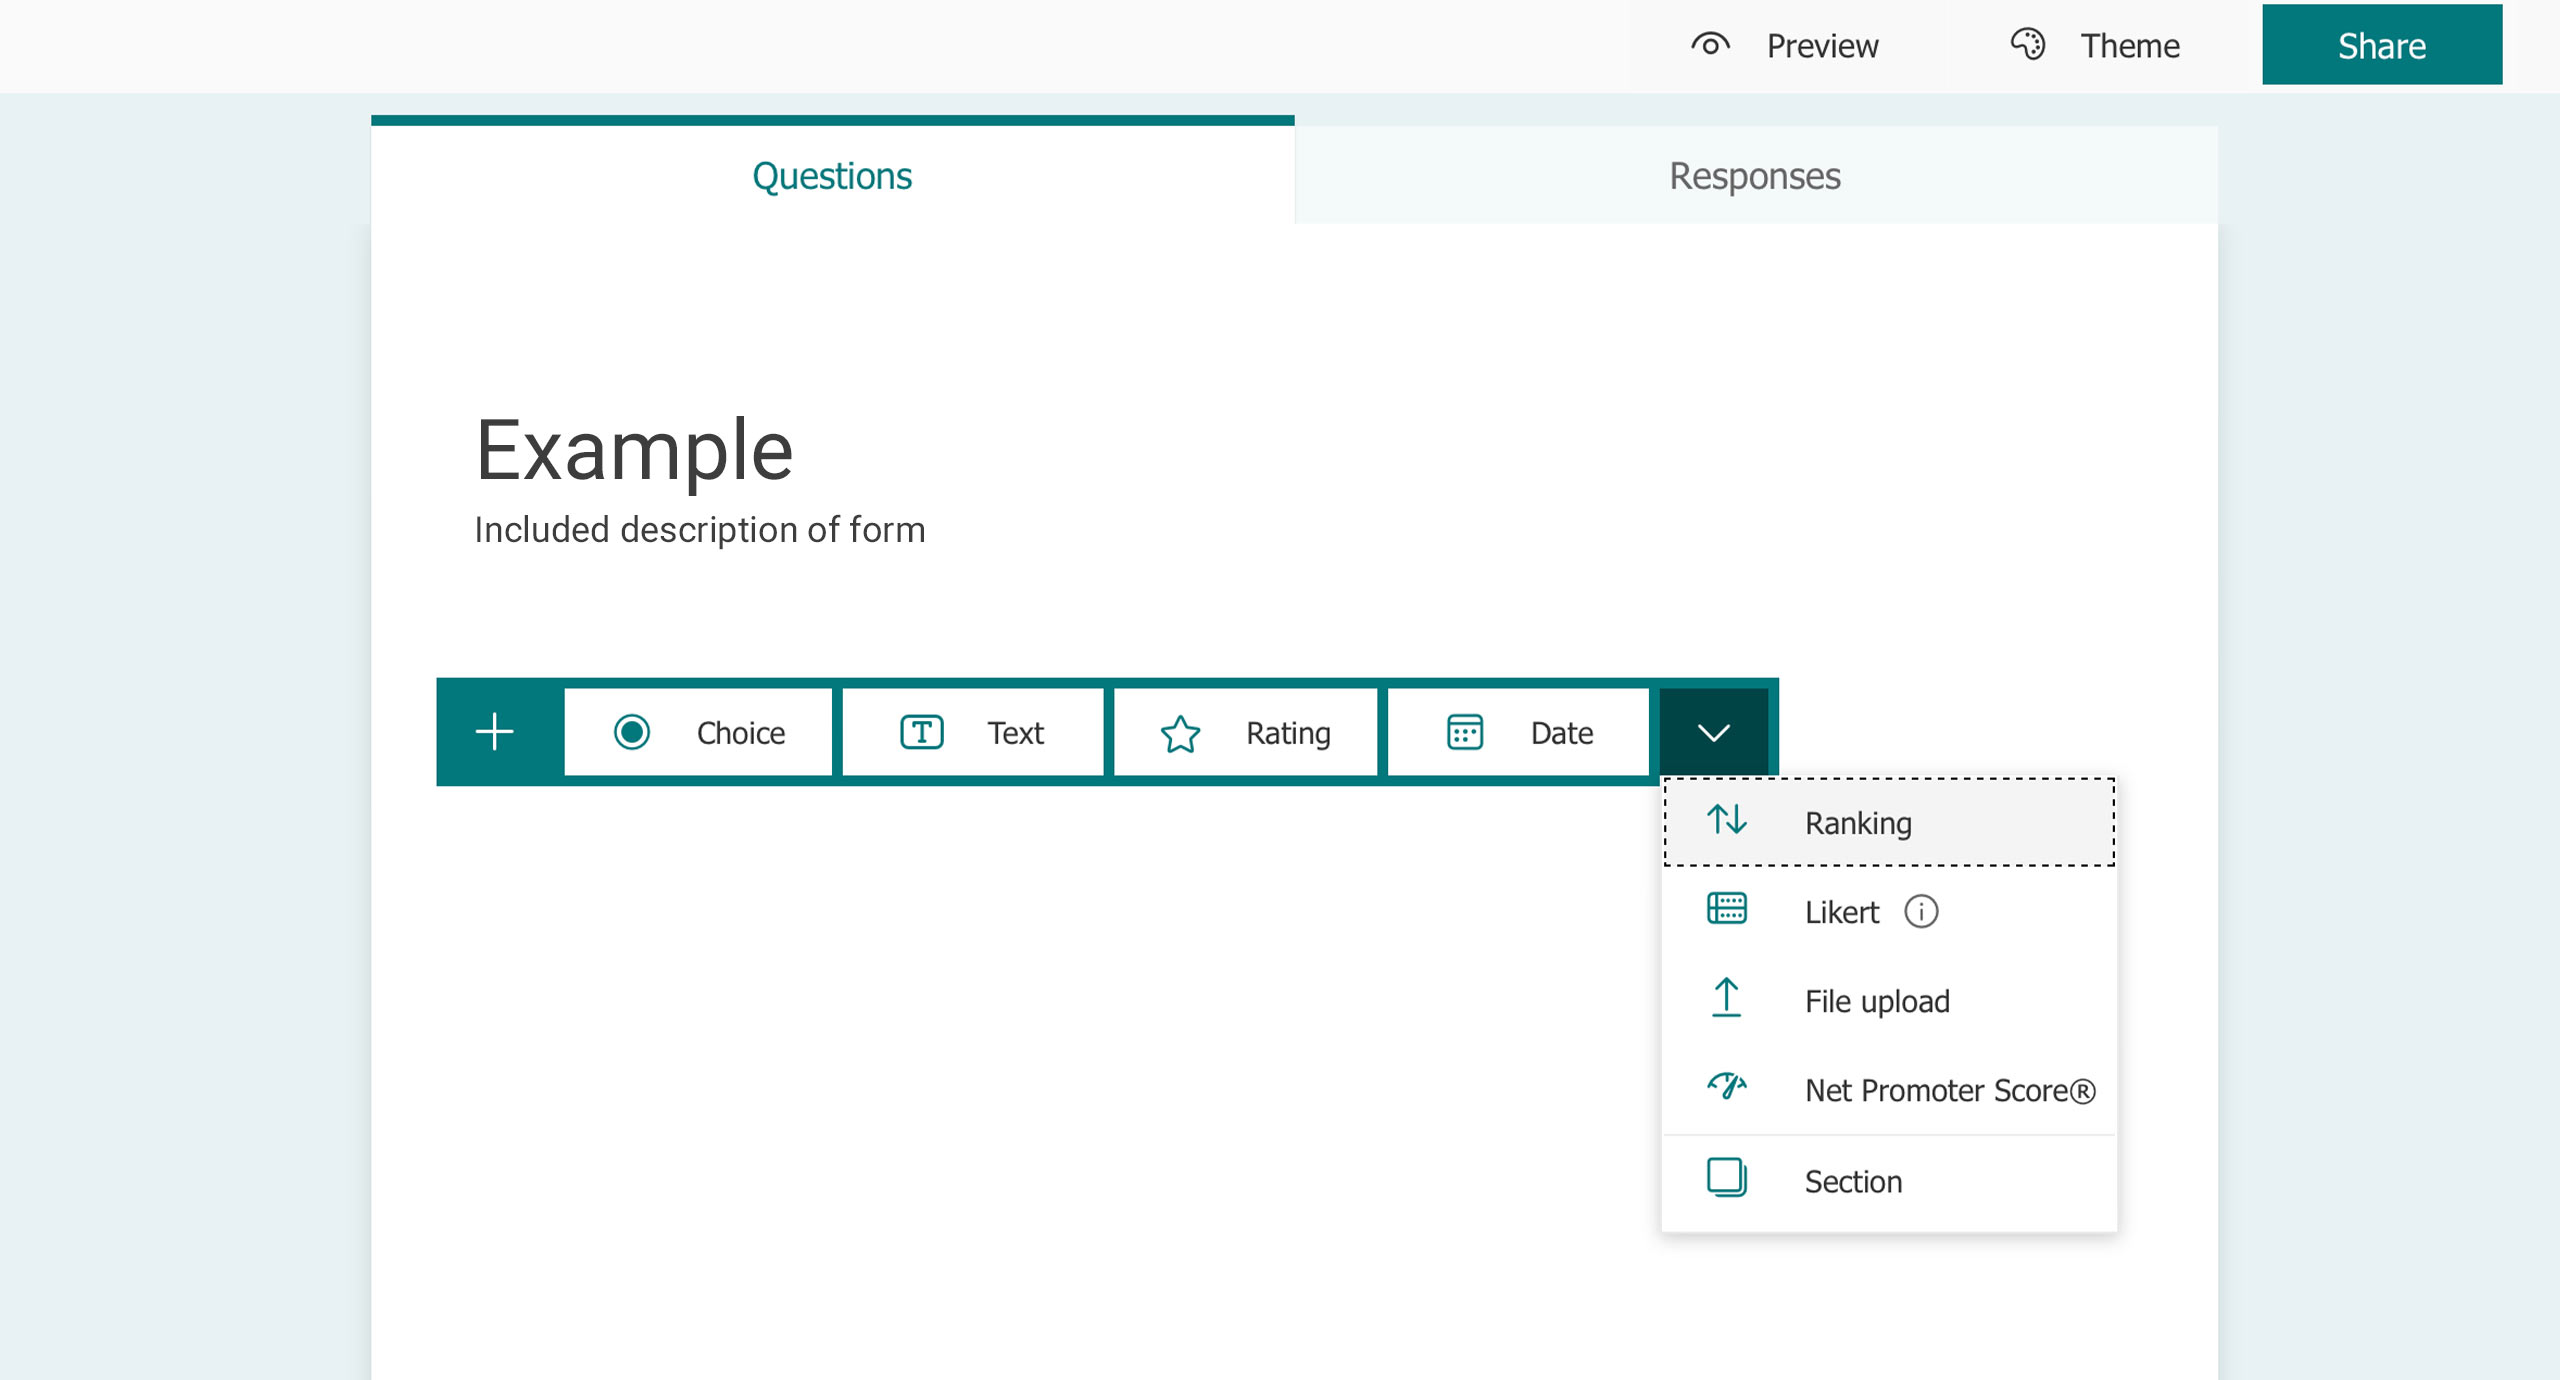
There are a variety of questions types to choose from. Read the descriptions below for more information on each question type.

Choice:
Multiple choice with an “Other” option for an answer that is not listed

Text:
Long or short free response

Rating:
Rating scale with stars or numbers

Date:
Simple date selector

Ranking:
Sortable list of items

Likert:
Satisfaction scale to gauge overall sentiment on a topic

File upload:
Upload/attach files as their answer
*This option will create a OneDrive folder to house the uploaded documents. Contact the BAMS Development Team if you want the uploaded files to go to a specific destination.

Net Promoter Score (NPS):
Scale from 0 (Not likely) to 10 (Extremely likely)
You can also organize your questions into multiple sections for Forms with many questions. In a section you wish to duplicate, remove, or move, click Settings (···) in the right corner of the section and select the desired action.
Step 5.
Branch questions

Microsoft Forms offers a powerful tool called branching, similar to display logic in Qualtrics. This lets you change/display subsequent questions depending on how the respondents answer certain questions. For more information on branching, contact our BAMS Development Team.
Step 6.
Share your Form
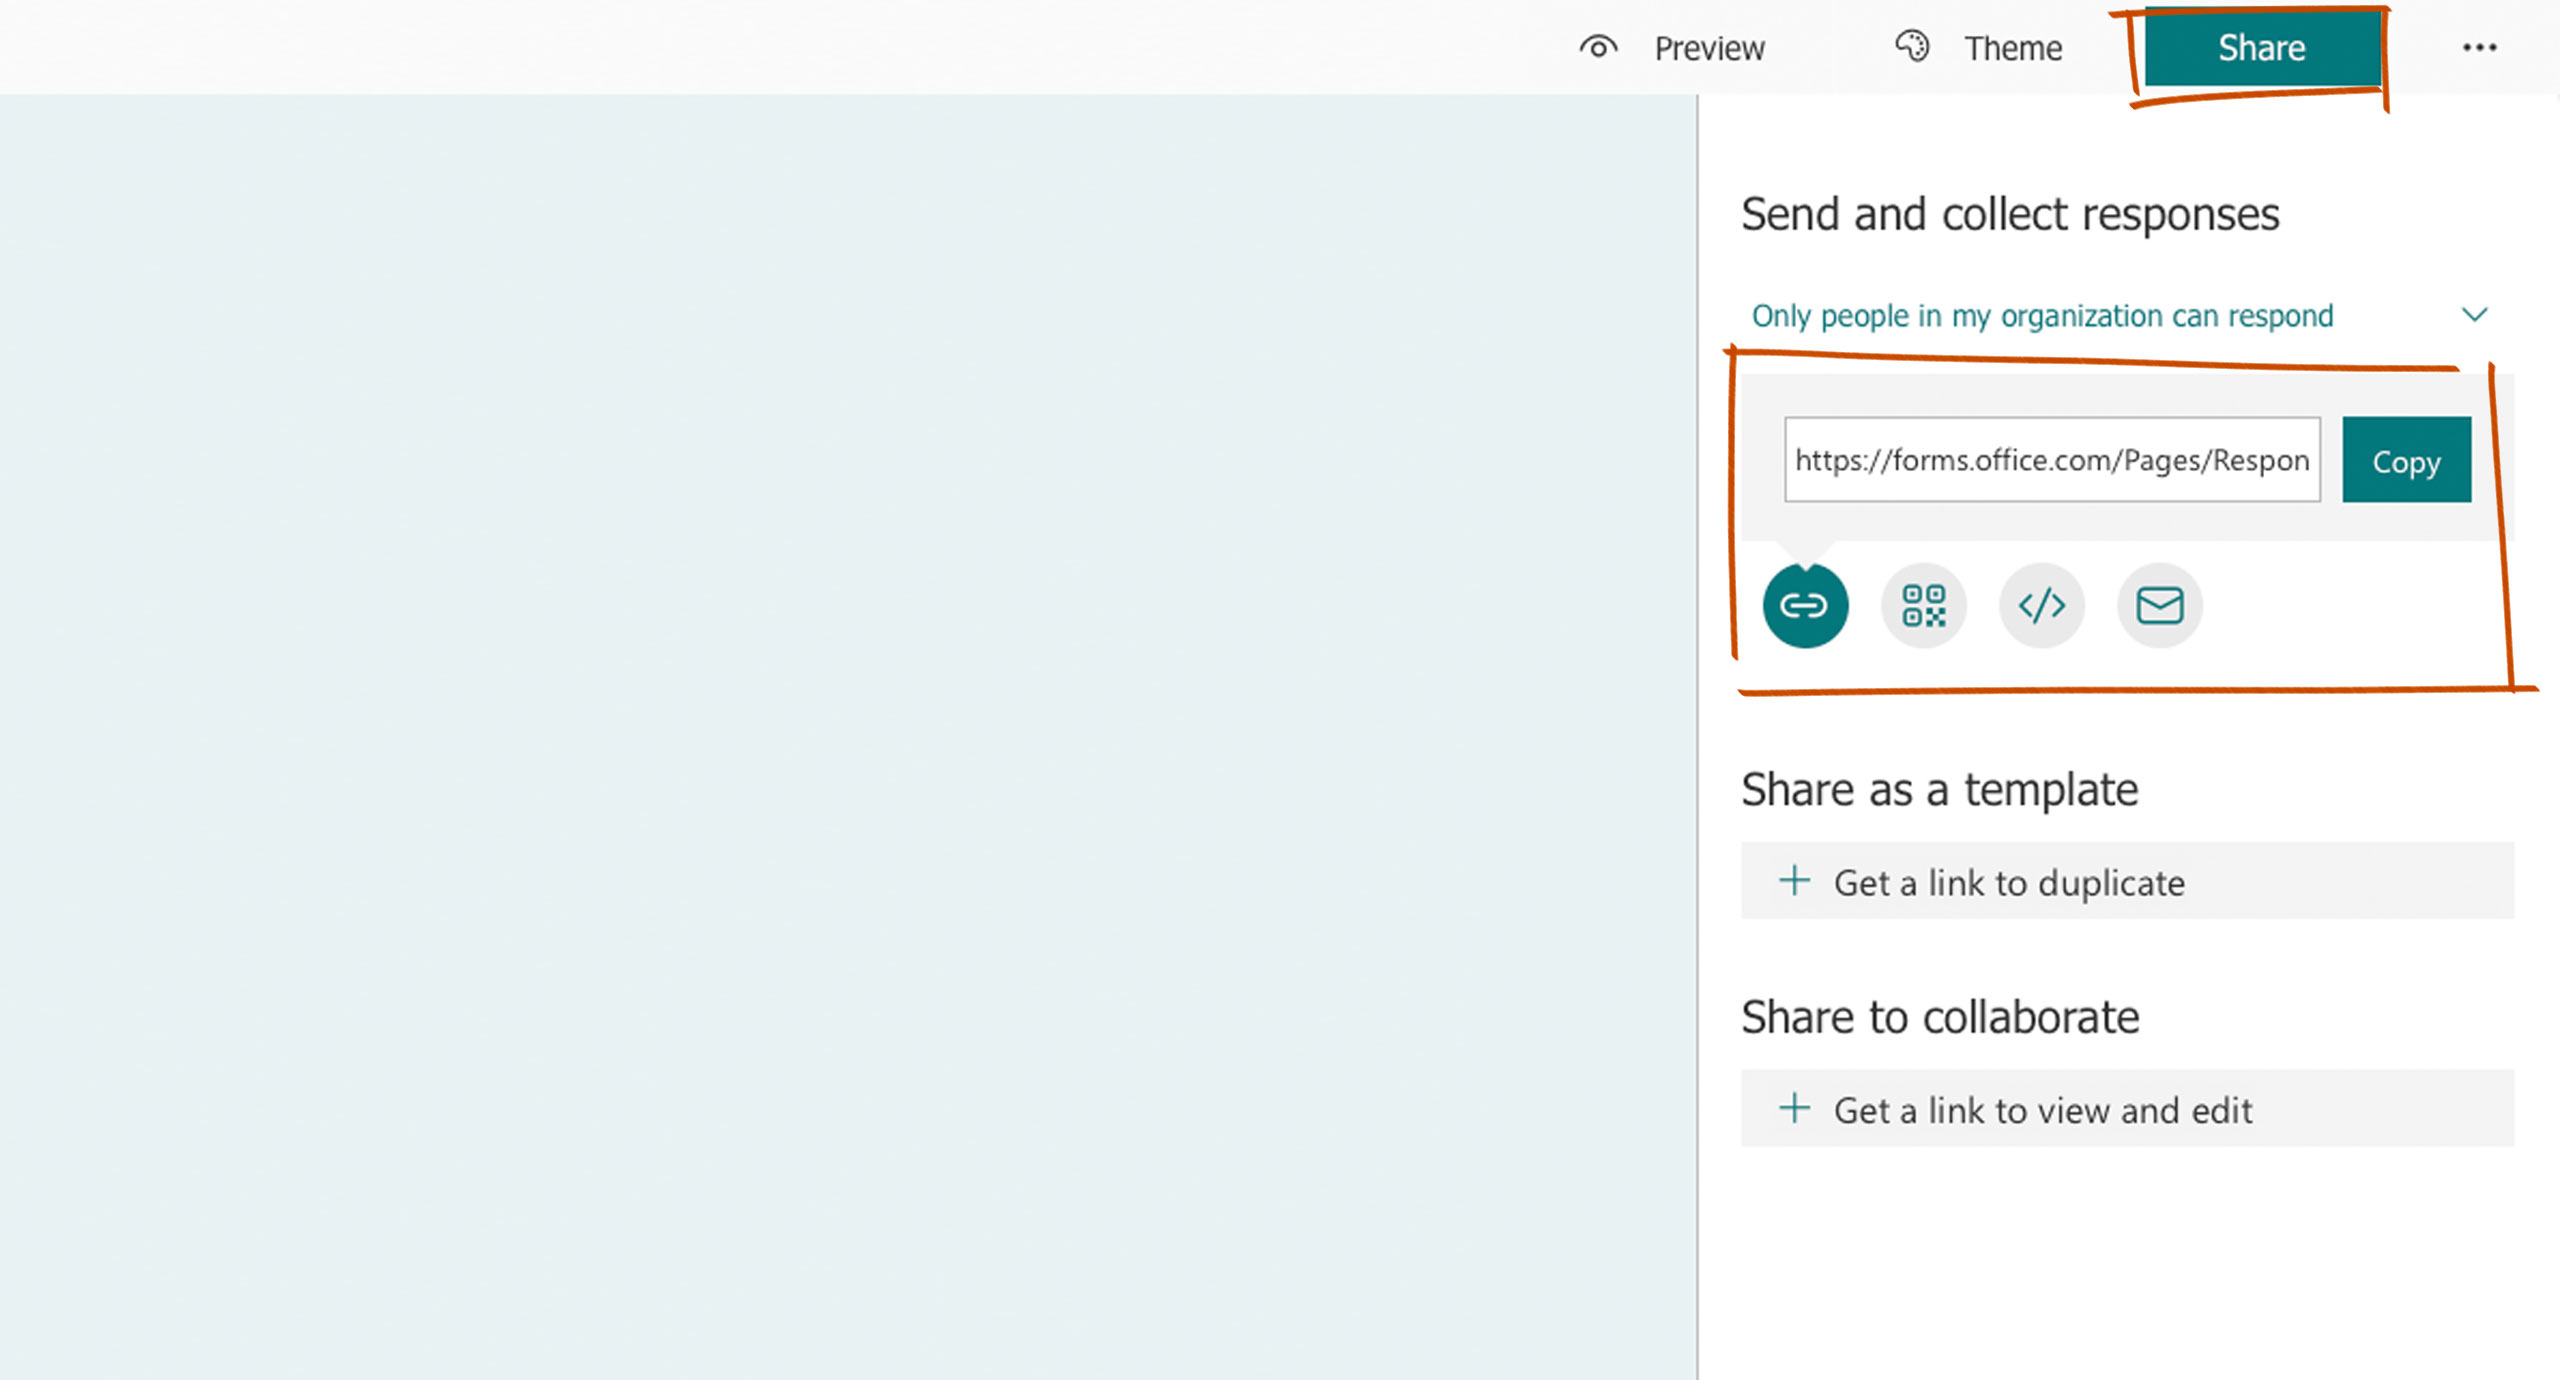
To share your Form, select Share from the menu. Choose whether the survey is viewable to anyone or only to people within your organization.
-
To share the form with recipients: select Copy next to the hyperlink and paste the link anywhere (e.g. email, webpage, or chat). Alternatively, you can generate and download a QR code – which requires someone to scan the code using their mobile device camera to access the form. You may also embed the Form into a website’s html code.
-
Share as a Template: This option allows you to create a duplicate form. For example, if you are collecting responses for a Spring event and want to prep for the Fall event, you can create a template to edit the two forms independently.
-
Share to Collaborate: This option allows you to invite contributors to edit the form. For example, if you and a coworker are coordinating an event, this allows you both to work on the form together.
Step 7.
View responses
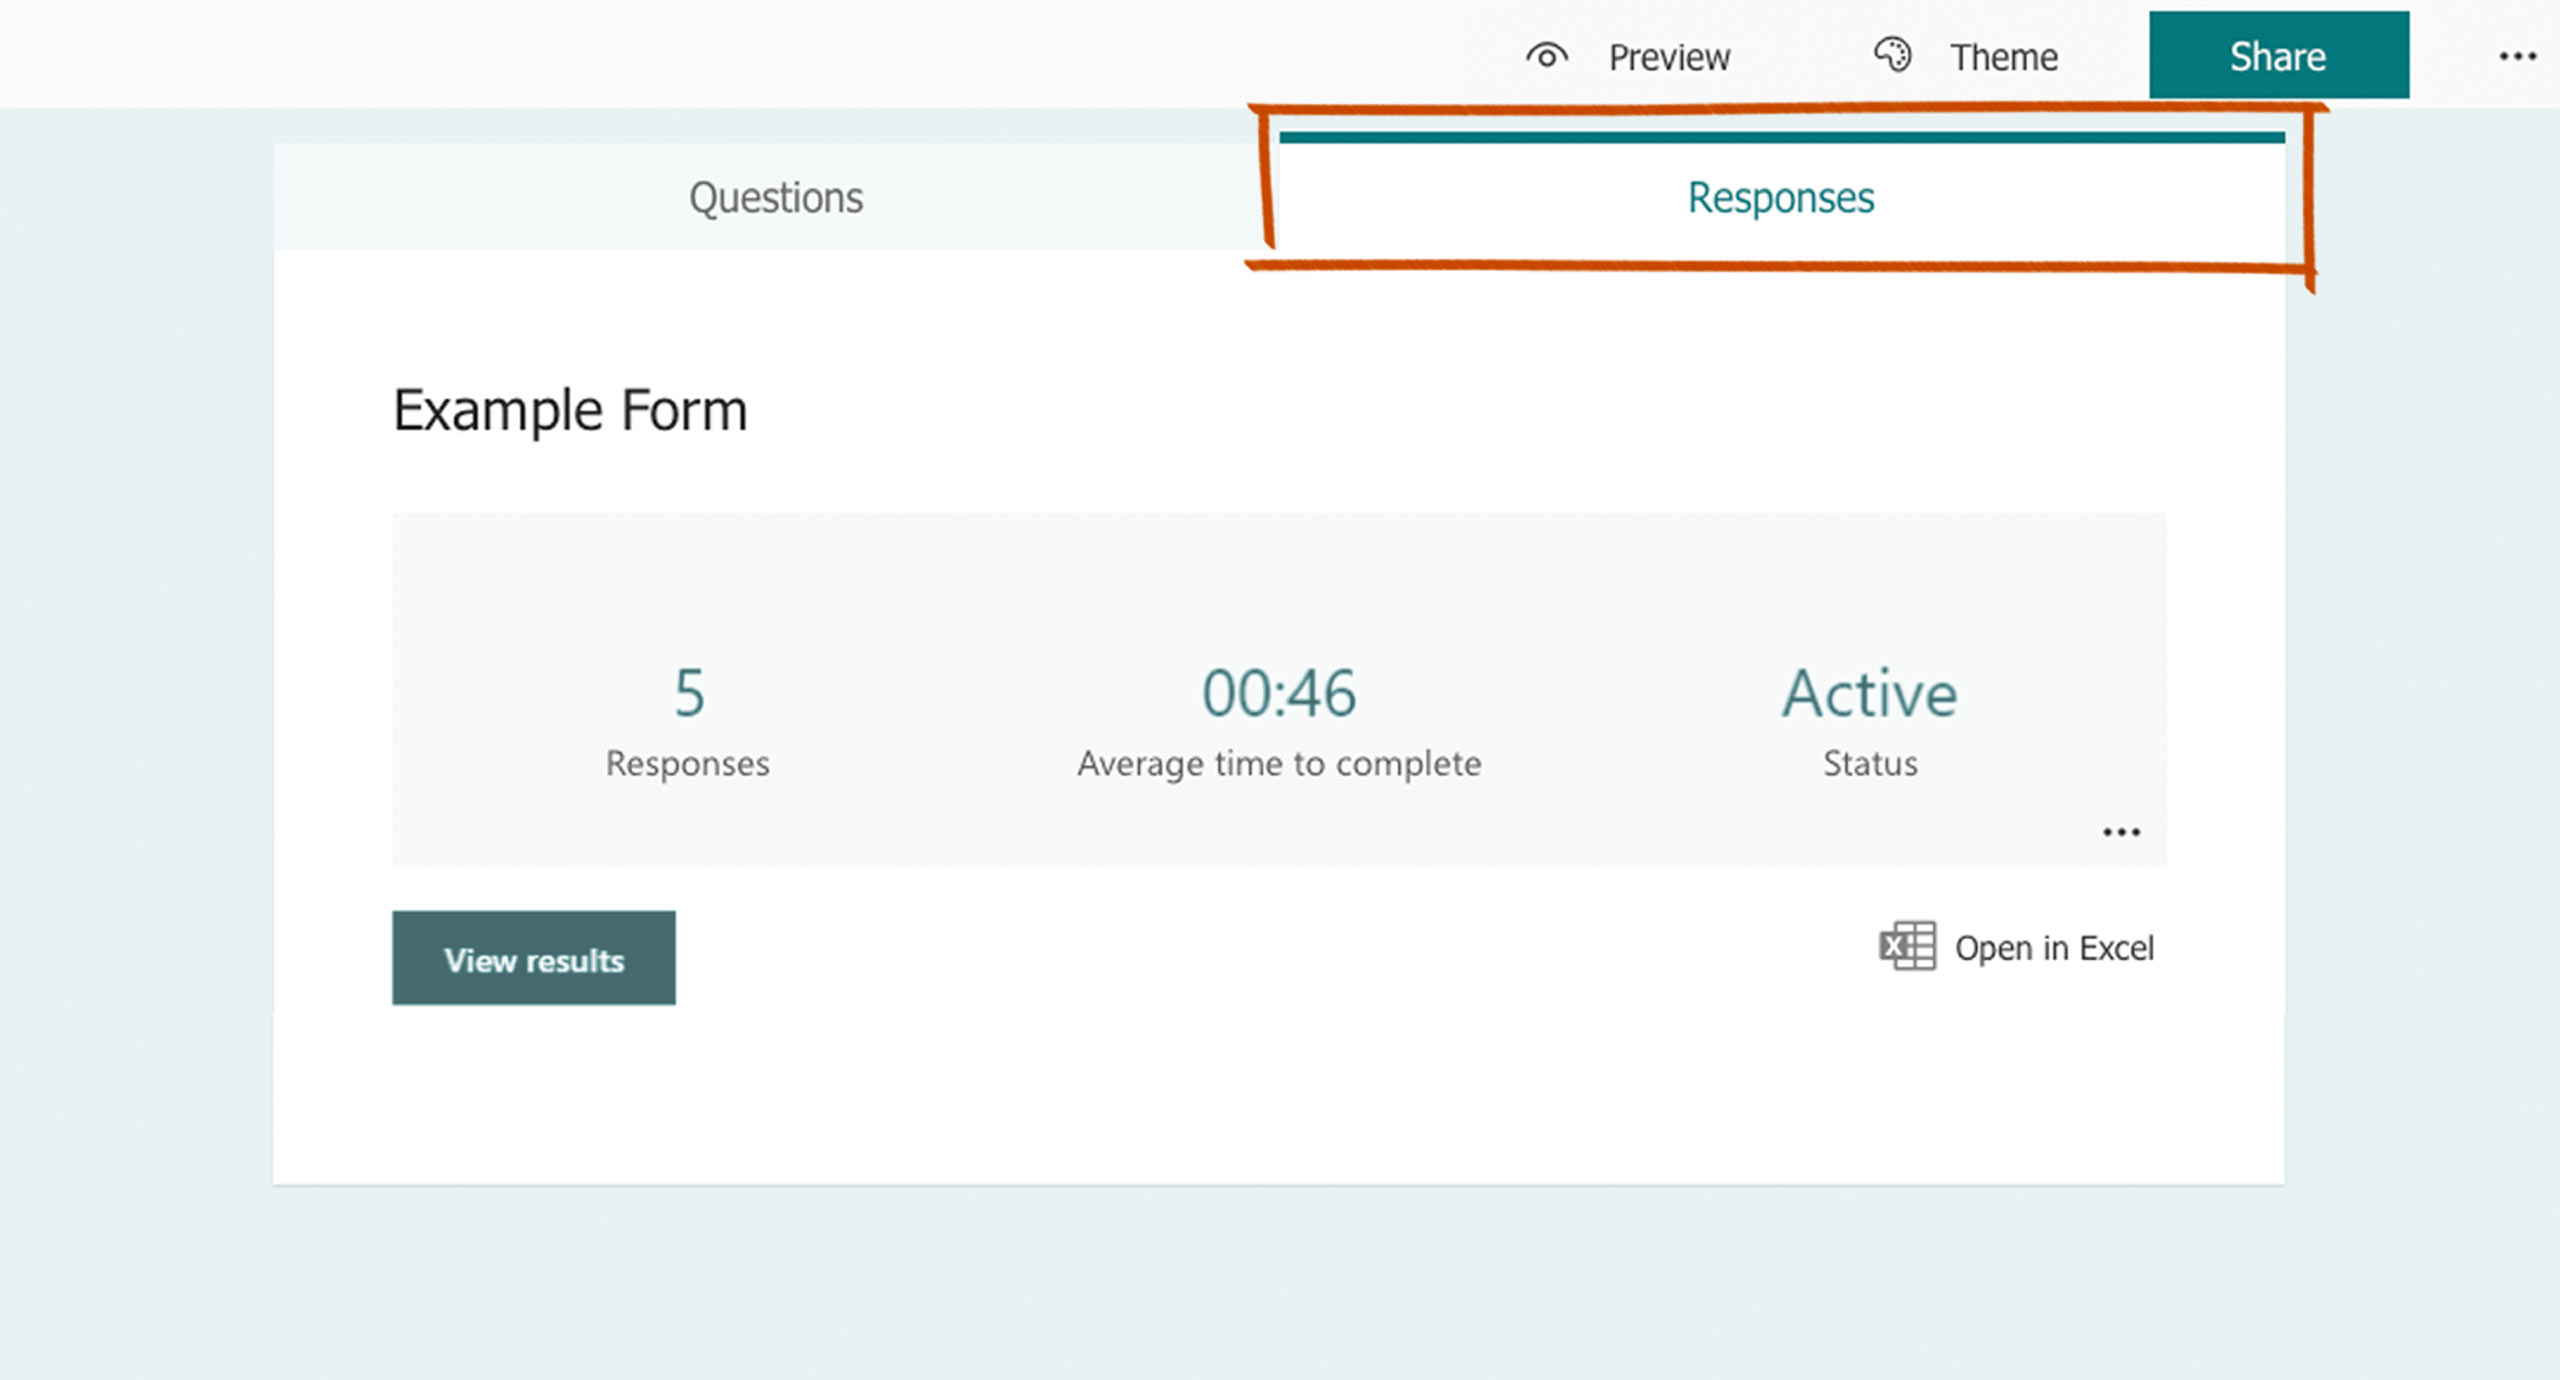
To review the responses, select the Responses tab. The responses dashboard will display analytics of the data submitted by your survey respondents.
Responses can be opened in Excel, but be aware this will not include any files that get uploaded by respondents.